Easy Blending with Brush Markers Tutorial
Hey you all ! today I want to show you how to make a blending technique using two different colors of brush markers, which I love to use for my Instagram videos. It is quite simple and you can put it into practice if you are learning Lettering or if you like to decorate your letters, notes or bullet journals.
MATERIALS
Here is the list of the materials I used, you can use any marker you have on hand; as long as they are water-based and brush type. For paper I am using Canson watercolor paper, this is the one I prefer but you can use any paper available.
STEP 1: The perfect color match
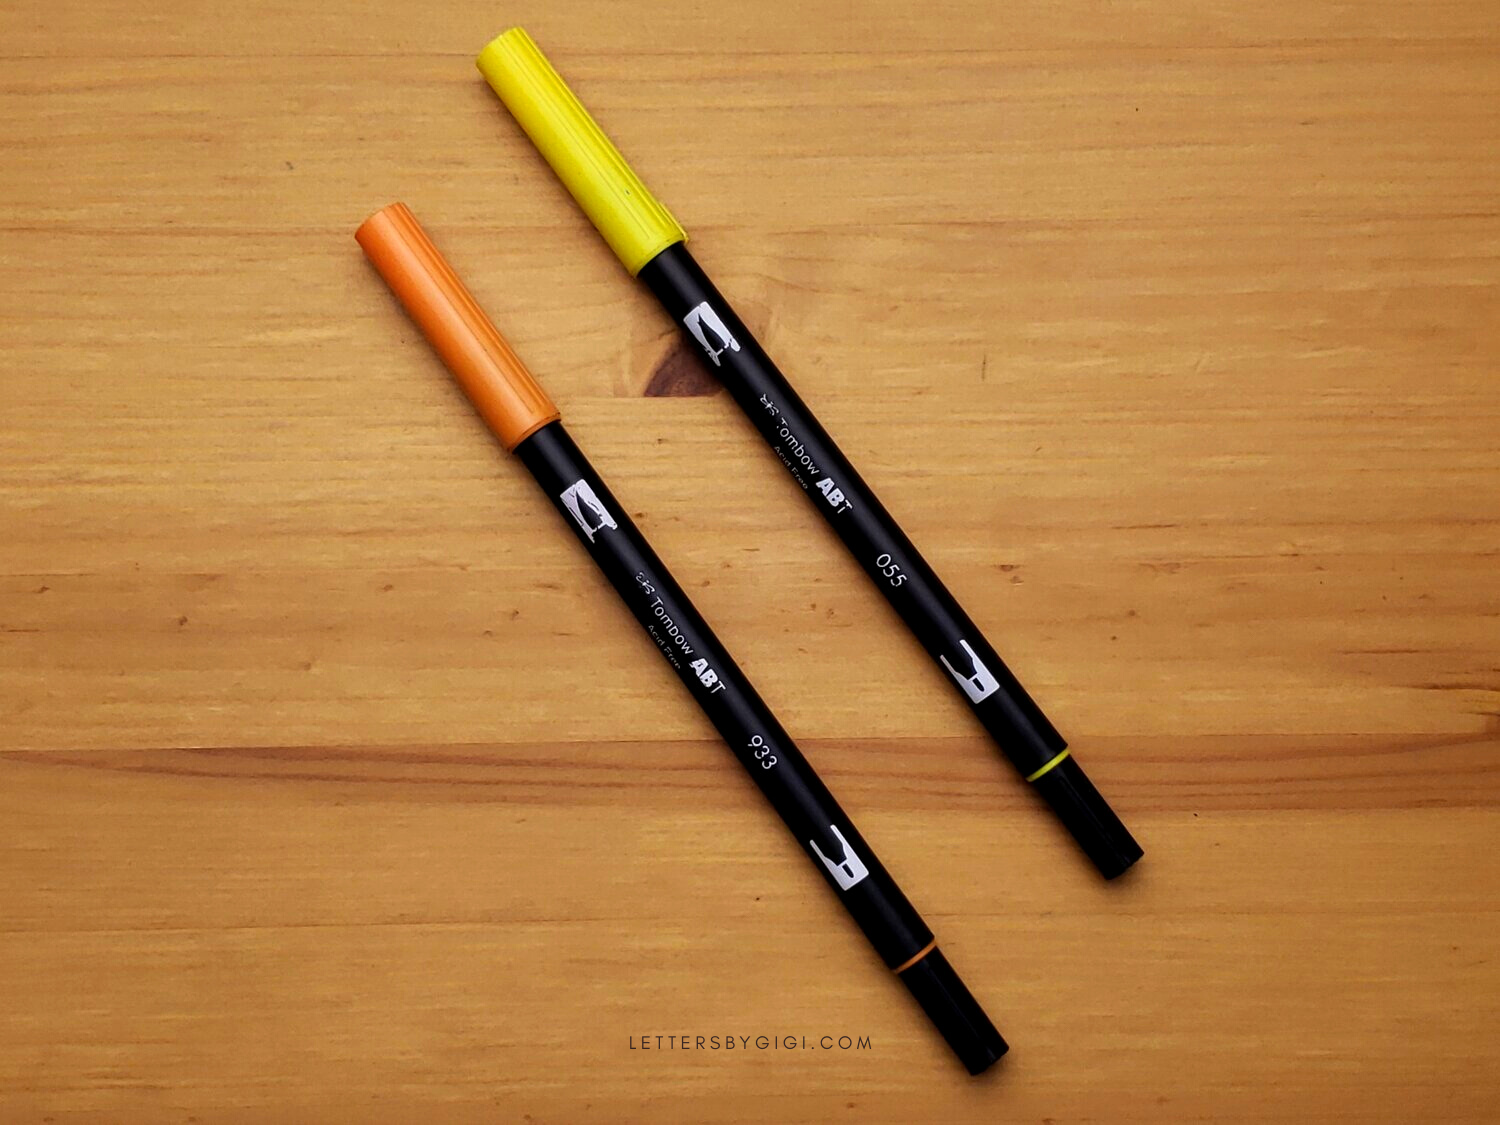
To start chose two contrasting colors. I used references 055 (Yellow) and 933 (Orange) from Tombow Dual Brush Pens Bright Palette. They are two colors of the same range and one is darker than the other one; that helps to appreciate better the technique.
STEP 2: Mix the colors
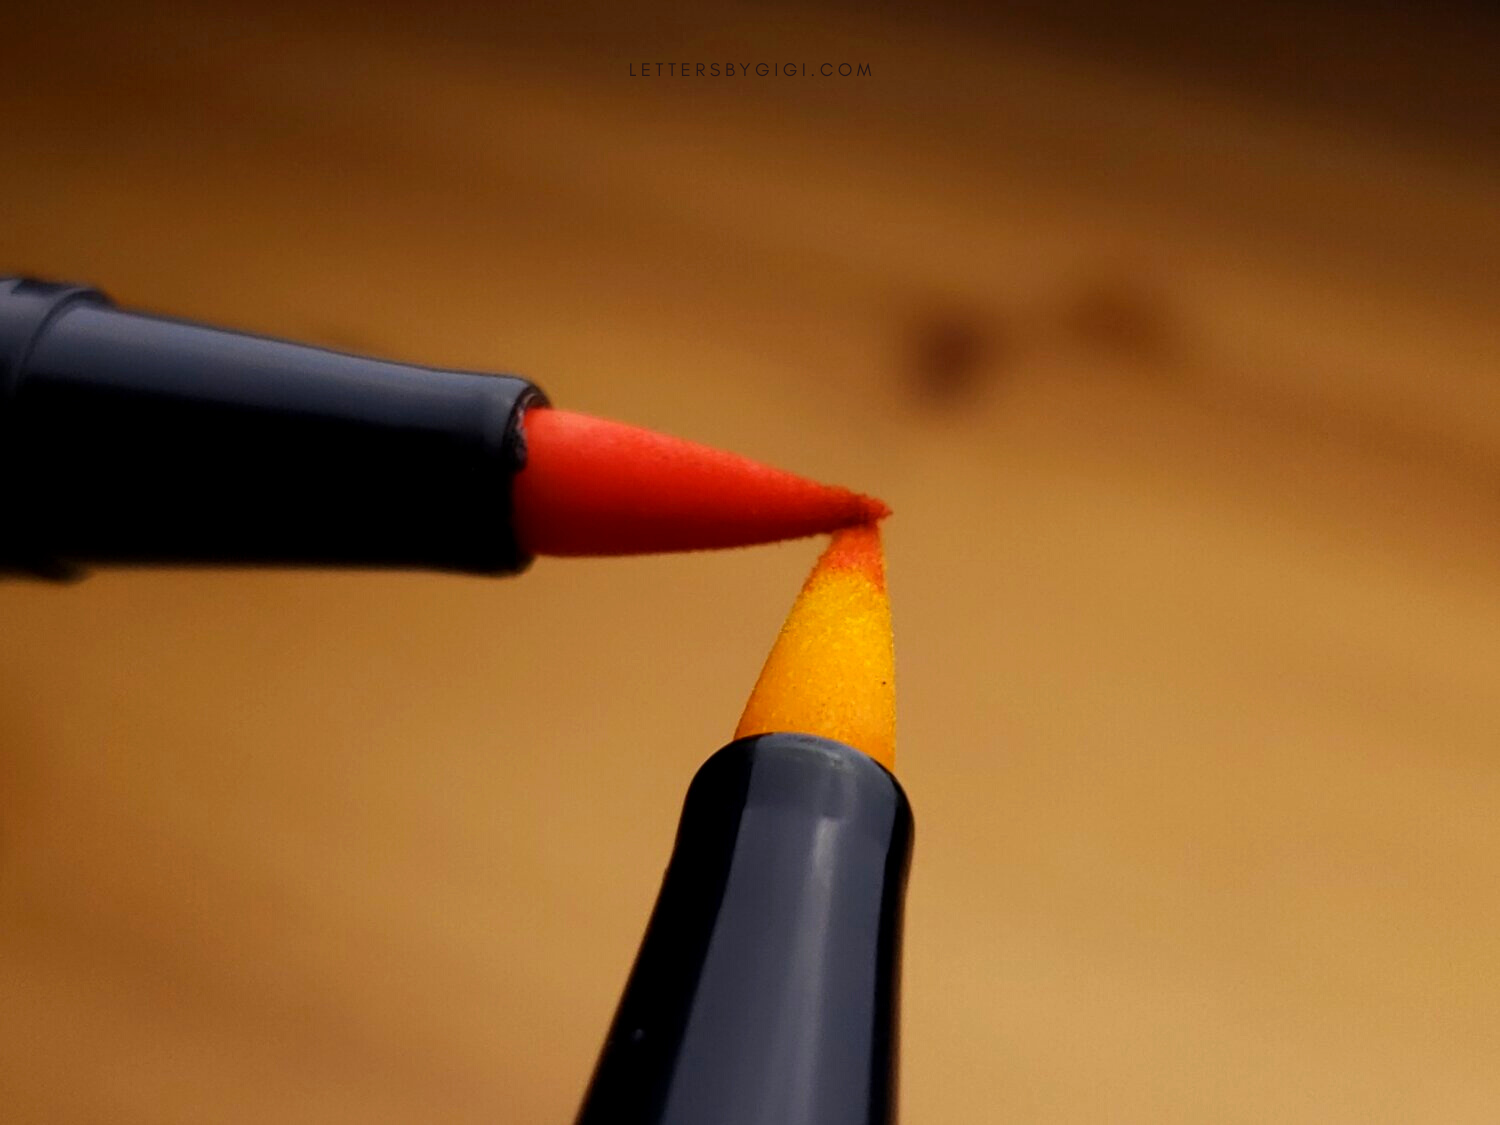
To mix the inks, there are two ways to do it: The first is to color the darker marker on the tip of the lighter marker. The second is to touche the tips of both markers together for a few seconds so that the ink is absorbed.
STEP 3: Start drawing
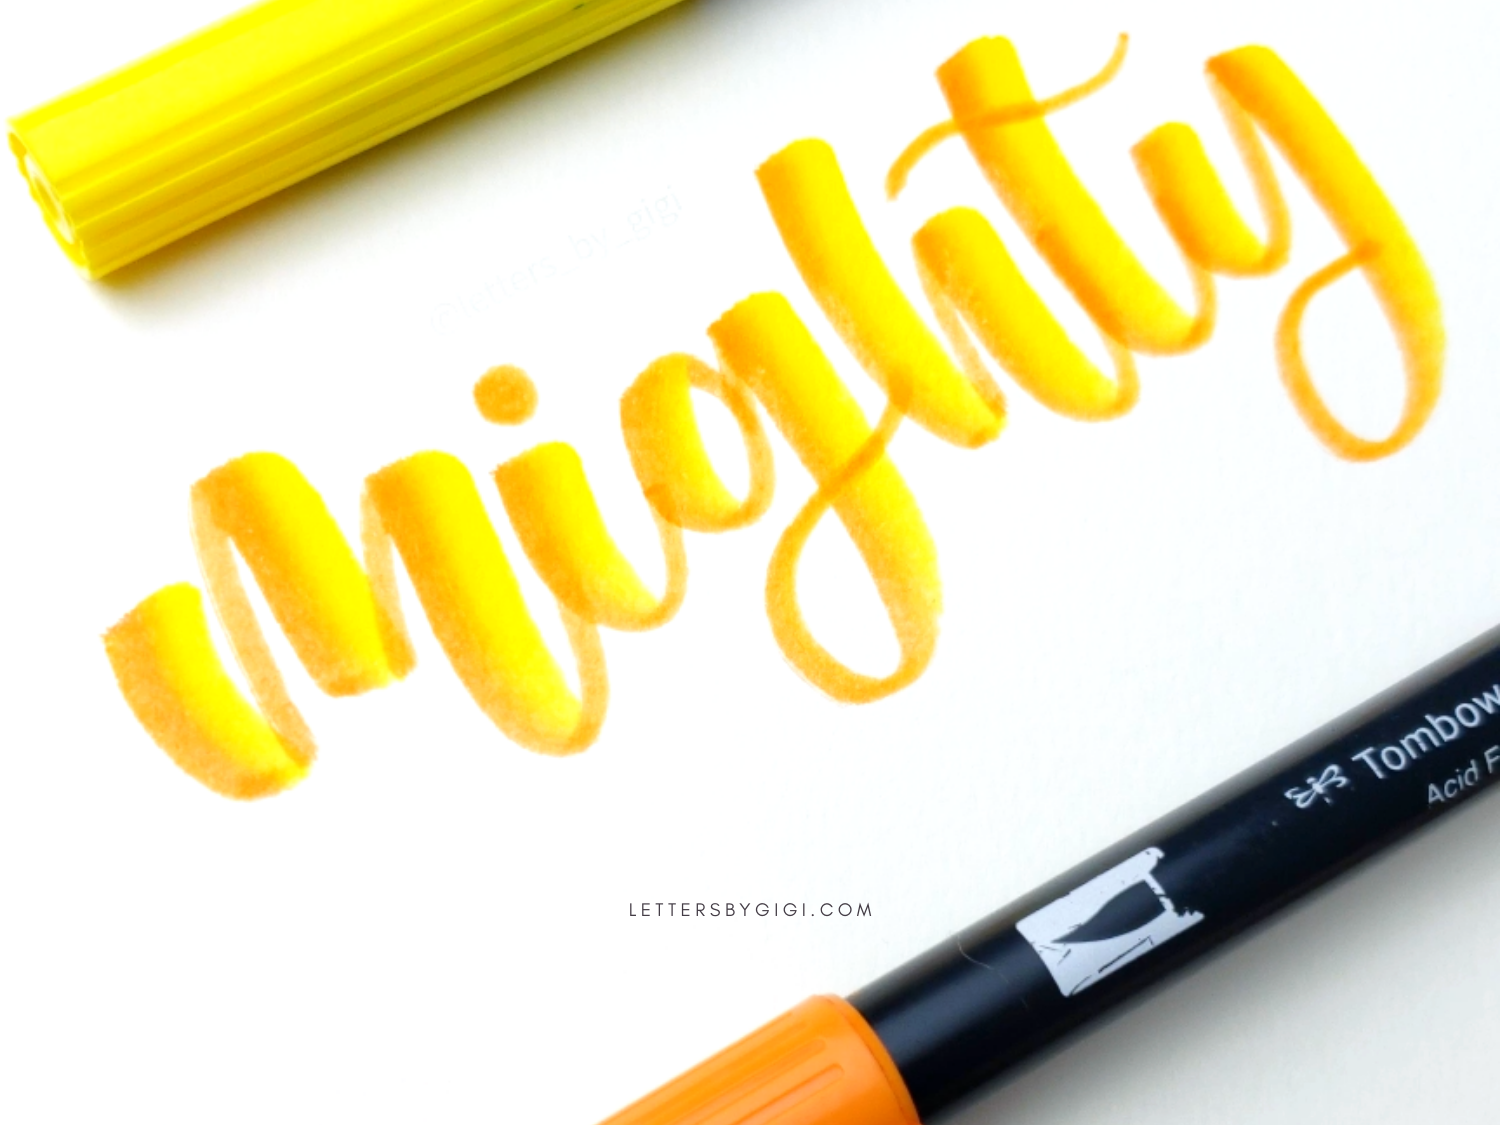
Select the word or phrase you want to use and write it down on watercolor paper or Mix Media. Depending on how vivid you want the mix to look, you can repeat STEP 2 every time you write a letter, or just let the dark color fade. Any option you choose looks great either way.
Want to go a extra mile, you can always add shadows and details to make your design really stand out. If you want more ideas or need some inspiration check my Instagram where I post my lettering.
Hope you guys have enjoyed my tutorial and find it useful.
This post may contain some affiliate links for your convenience (which means if you purchase after clicking a link I will earn a small commission, but it won’t cost you a penny more)